 |
 |
 |
 |
 |
 |
 |
 |
 |
The Process
Concept
I've had the backstory for this character plans for a while, I'm not going to elaborate too much as I will be working on this project in the future and would like to avoid publishing any info in the project just yet. But This character is Leeroy or Lee for short and will be apart of my Techniverse series in the future. It is set in a dystopian cyberpunk-esk world. Lee is a bit of a criminal with a suppressed moral compass but ultimately deep down is a good guy. He is lives a nomadic kind of life and just goes where life takes him without many questions. Events in the series will change things for lee however and will pose questions he will be forced to explore.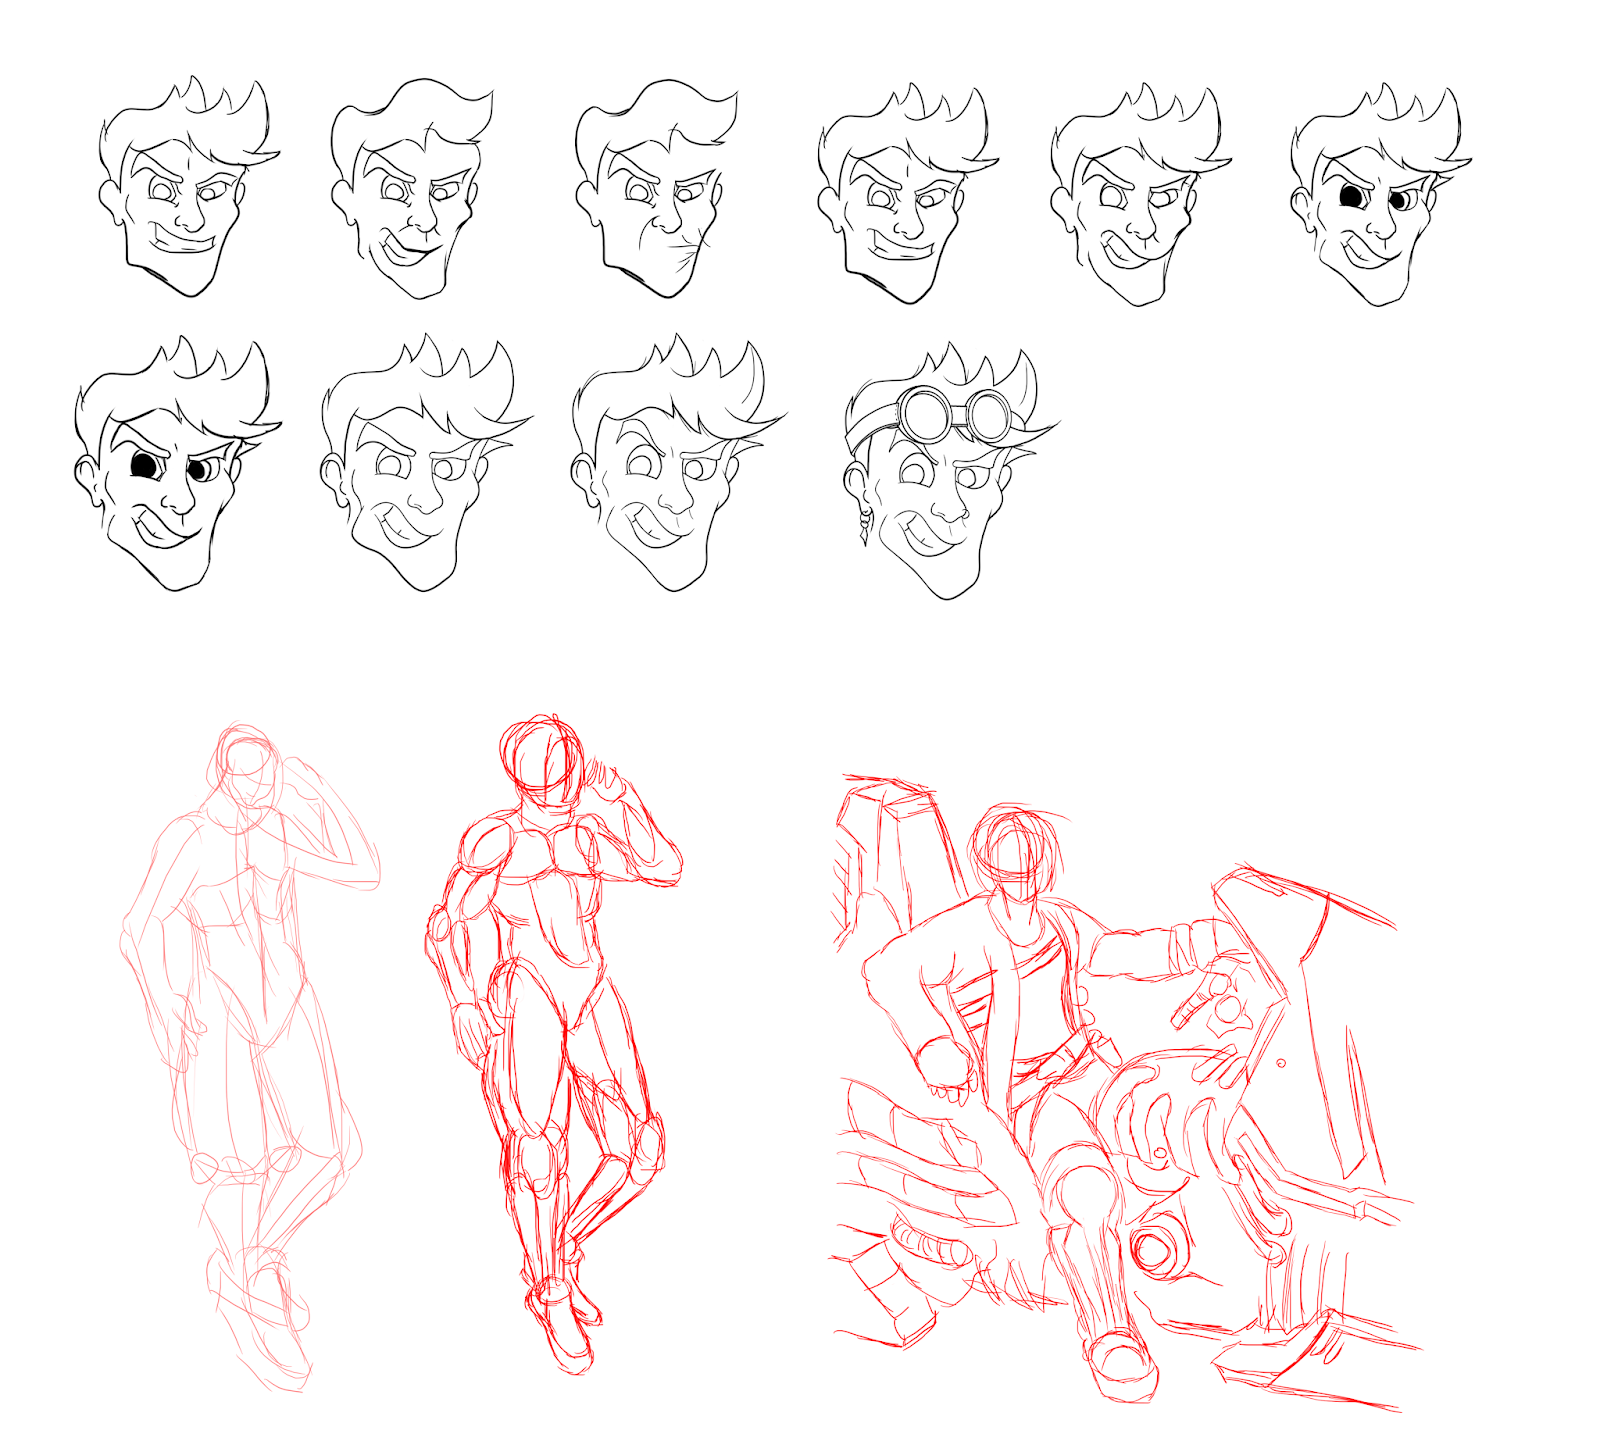
I decided to go with a stylised sketch to conceptualise and explore his face and expressive identity further so I didn't have to focus on making him look realistic. The art style for the Techniverse series, however, will be more realistic than this so I'll have to translate the concept into a more realistic style which will be my goal during the sculpting phase.
Sculpting (Phase 1)
 |
 |
 |
 |
 |
 |
 |
 |
 |
 |
 |
The face is done, so now I'm going to sculpt the hair. Lee’s hair flows the punk style from the 90s with the spikes and such and will be apart of this identity as spiked hair and mohawks were back then. This is an important part of the Cyberpunk aesthetic I really want to capture with Lee as he is more outgoing and eccentric a character than any other character in the series. I don't, however, want to go overboard with the style as it will detract too much from the overall visual appeal id like Lee to have.
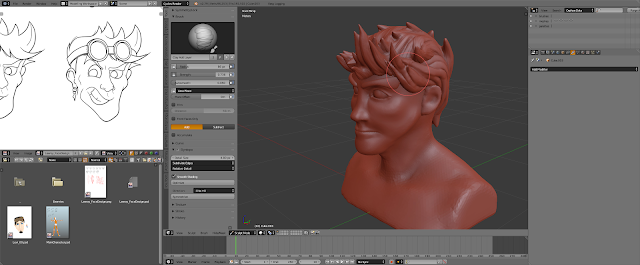
While sculpting the hair I remembered that Lee has goggles on his head because he rides a Space Cycle throughout the galaxy as his main means of transport. So after modelling the Goggles, I reworked the hair sculpt to the accommodate the goggles.
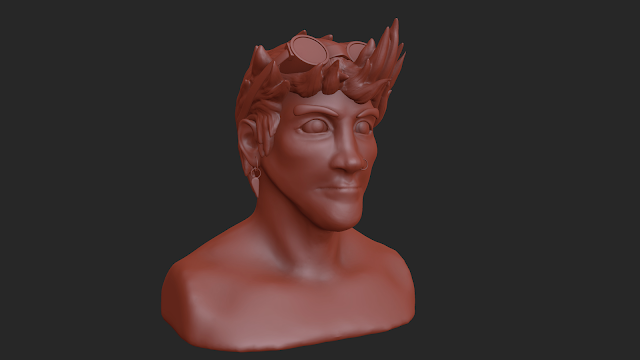
Now that the face and hair have been sculpted I'm feeling much better about how things are going it was hard to translate my sketch to a more realistic look but I think when I pose the face I'll be able to get the expressiveness I'm looking for. Over the sculpting, the phase has been a success.
I’m am now going to Boolean the Sculpted head to a base mesh body I have modelled in the past. This isn't really for much more than a template to model the clothes around as the majority of the body will be hidden.
 |
 |
 |
 |
 |
 |
Modelling (Phase 1)
Now I'm going to model the main clothes before retopologising the head. Doing the body first will allow me to create a neck hole for the head to join to after the retopology and this will also allow me to get a value for the number of vertices ill need terminate loops to when retopologising the head so that the neck and head join seamlessly together. The head will need to be much denser in the poly count then the body so I can get nice deformations when creating the facial performance and expressions later.
 |
 |
 |
 |
 |
 |
 |
 |
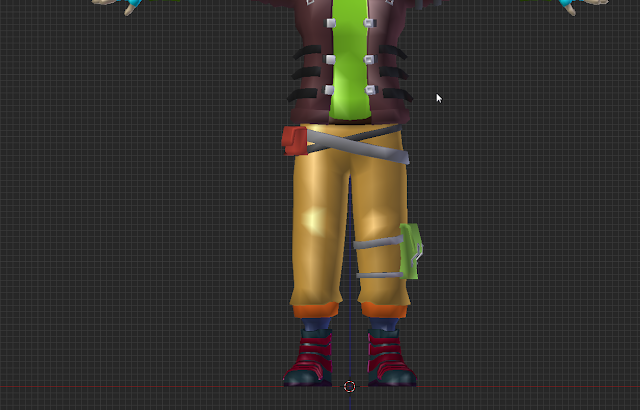
The clothing is pretty basic, a Jacket, Shirt and Pants. I'll also add belts and other accessories including gloves and the shoes after retopologising the head.
 |
 |
 |
So far the clothing is good, and I should probably state this character is intended for a game so I need to ensure that the poly count is low enough that it will be a viable character while also giving the character enough geometry for the face this will be a balancing act of course but from the state of the bodies poly count I things are looking great.
Retopology (Phase 1)
Time to retopologise the head and join it to the body.
 |
 |
 |
 |
 |
Retopology is much much easier with the right tools, Thanks to the efforts of Jonathan and his developers over at CGCookie Retopology was the easiest I've ever had it using there Retopoflow Addon for Blender. It's in 2.0 Beta so it does bug out sometimes but it still fared better than doing it the older method. (If your interested in getting if yourself it can be found here on the Blender Market it is expensive currently but there is often sales on the store so keep an eye out and snap up the deals when possible.)
One Area, however, I didn't use retopoflow on was retopologising the hair. Instead, i decimated the hair to reduce the poly count as the hair will not need to deform much and the decimation should work fine.
 |
 |
Modelling (Phase 2)
Now that the head and hair is retopologised and join to the body now I need to create the Hands and Shoes.
 |
 |
 |
 |
 |
 |
 |
 |
 |
 |
 |
 |
ain't no thang but a chicken wing. The hands and feel were easy and are now done.
Retopology (Phase 2)
I have decided to retopologise the hair properly as it will make things easier if I do want to make changes later. It will also make the unwrapping phase much easier too. |
 |
 |
 |
 |
 |
Much better, I decided to use Zbrush ZRemesher to retopologise the hair as its fast and as accurate and id ever needs it to be for an automated retopology job.
Unwrapping Phase
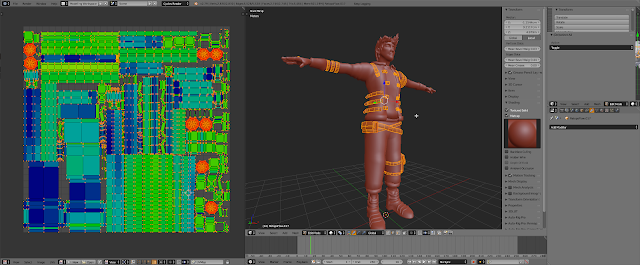
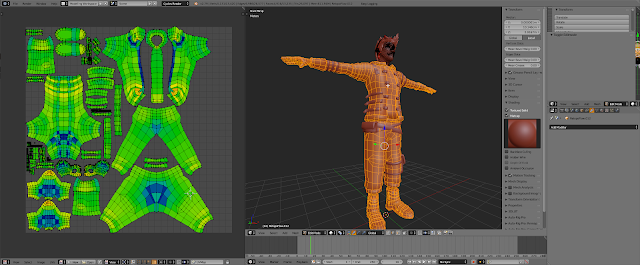
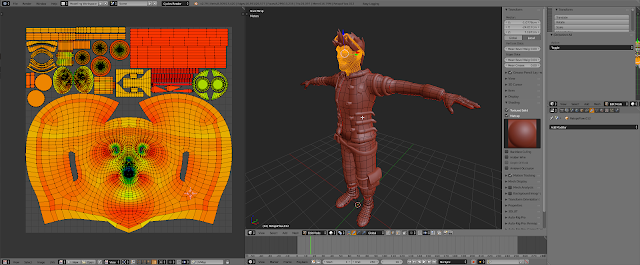
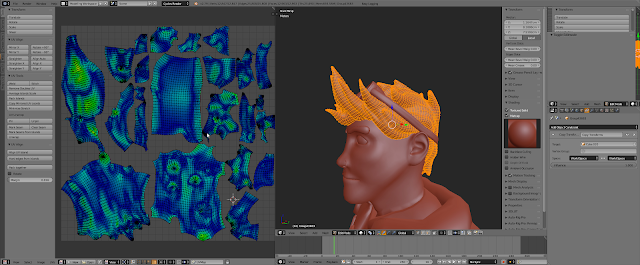
Now its time to unwrap the model. This part is pretty easy but its important that i layout the UVs into 4 seperate maps. Ill need one each for the Cloths, Head, Hair and the Accessories. The reason for this is ill be using textures in a Game engine which only accepts upto 4K resolution per image. If i use one map there will be parts of the model with only a few pixels to define the texture.
Sculpting (Phase 2)
Now for the final sculpt. I will be sculpting the clothing to get do nice details like wrinkles etc that i can bake to a Normal map for the texturing phase.
 |
 |
 |
 |
 |
Baking Phase
The method of texturing i'll be using will be a nondestructive method using the Quixel Suite. Quixel isn't necessary but it makes things much faster. I will be using Quixel for 90% of the texting and will later go in manually in Photoshop to add the extra details.
I'll Need to bake Color ID maps, Normal Maps, Ambient Occlusion Maps, and cavity Maps.
Texturing Phase
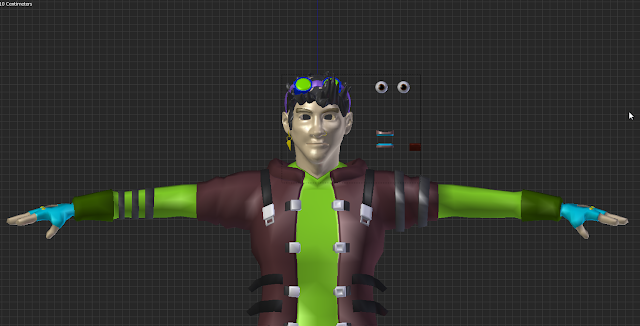
The Id maps are plain color textures that use different colors to define the different materials, Metal, Leather, Cotton, Denim etc will then be able to use the Colors to create marks for each material and create a single texture with multiple materials in one. The Other maps will allow me to add details like edge wear, dust, dirt and more all procedurally so that the dirt only shows up in creases or edge wear only on the raised edges.
 |
 |
 |
I couldn't document the Quixel process as the suite uses a lot of ram and recording or taking snapshots at the same time would have caused Quixel to crash losing my progress or potentially the whole thing so i didn't wanna take the risk.
Texturing is dont however and turned out great. I have already added some extra details in Photoshop manually so now its time to set up the materials and give Lee and Render.
Shape Keying
This process is fun when you have nice topology. By creating keys for different parts of the face I can control and combine them to form different Facial Expressions.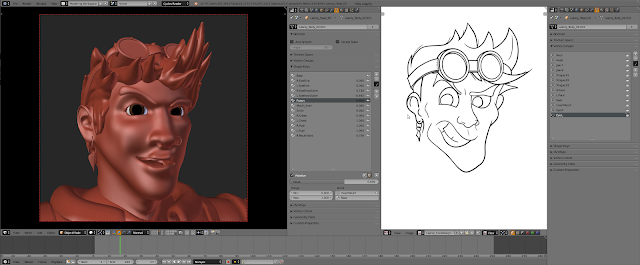
 |
 |
 |
 |
 |
 |
 |
 |
 |
No comments:
Post a Comment